Tech Tuesday - An Easy Guide to Installing Tire Inserts
Tire inserts can be a nuisance to install and remove, but there are a few tips that we've found, or borrowed from other mechanics, that should ease those garage nightmares. In the video above you can see Henry's guide, and Matt Beer has written up his tips below. Both are similar and rely on the same theories but there are small differences. We thought we'd share both, and you can pick and choose what works best for you.
Inserts can come in many shapes and sizes but installing them usually follows similar steps.
Installation
Having a couple of common tools around can expedite the process while relieving stress on your hands, such as an old rag, tire lever valve, core remover, and something like a ski strap.
Step 1: First, make sure you have the appropriate valve that will allow air to flow around the insert. These are different in that they have a cap at the end of the regular presta valve with drillings, making a "T" shape to allow air to flow out the sides of the valve inside the rim.
If you’re really stuck in a jam, you can use a traditional valve to put air in, but removing air or measuring the pressure doesn’t always work as smoothly. To release air in a regular valve with an insert installed, you can loosen the presta valve stem lock ring and push the valve into the tire.
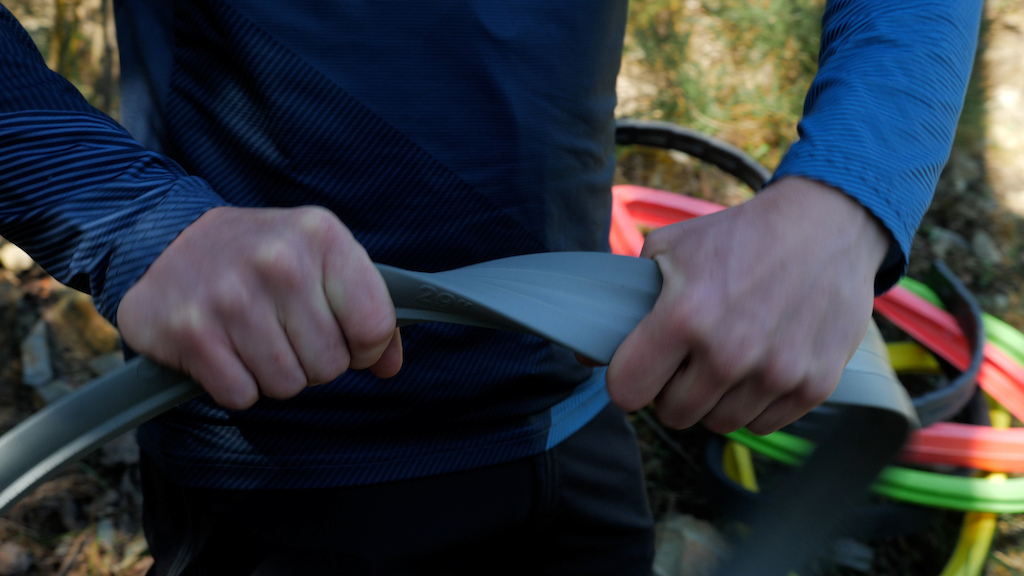
Step 2: I prefer to install the insert on the rim first, starting with the bottom and standing on the rim, sandwiching the insert against the ground. Working the insert in small increments can prevent it from jumping off the rim entirely. Stretching the insert can help ease it onto the rim.
Step 3: Put the rim with the insert installed inside the tire.
If you're curious about inserts, you can see a ride-impressions roundup here.
Step 4: Loop the strap tightly around the tire and rim. This will keep the tire bead from jumping off, as you’ll see later in the video.
Step 5: Start putting the tire on the rim as normal. This seems easy at first but will get tougher as you move around the rim. Once you have about 3/4 of the tire on the rim, you’ll need to start working the bead of the tire down into the rim channel. This is critical as it provides more slack since the inner deeper part of the rim is a lesser diameter than the bead edge that the tire eventually inflates upon.
If you have sealant on the tire, it could be slippery, and this is where the rag comes in handy to provide some extra grip.
Start at the ski strap and work around as this acts as a third hand. Depending on the tire and rim combo, a tire lever can definitely help you out, but be careful not to wrench on it at too much of an angle as you can damage the rim tape.
The best/worst part about this mistake is that you won’t know until you have a tire on and ready to inflate. You can spot leaky rim tape by putting some soapy water around the spoke nipples.
Remember, the deeper you can push the tire bead down into the rim channel, the easier this process will be - work smarter, not harder.
Step 6: Repeat the process for the other side.
Step 7: Depending on how new or particular you are about setting the insert evenly, you can manipulate the insert to avoid any wobbles.
Step 8: Inflate slowly and watch as the tire starts to creep up into place on the rim. Usually, you’ll find a small line on the outside of the tire just above the edge of the rim wall that shows you which part is sitting correctly. You can also follow Henry's advice on regular tubeless tire installs here.
You shouldn’t need to go to the max pressure of the tire to get it to seat. Instead, I normally bring the tire up to 30 to 40 PSI and then walk on the side of the tire, working my way around and pulling the tire into place with my foot.
Removal
Step 1: Let out as much air as possible, obviously. If the valve core is really gummed up, use a valve core removal tool to speed up the process.
Step 2: I like to lever the wheel against my knees and the ground while pulling the side of the tire back towards me. Like installing, a rag can be helpful to get more grip on the tire.
It’s critical to note that in order to break the tire away from its seated position, you’ll have to drive your fingertips into the sidewall of the tire, pushing on a downward angle towards the inner rim channel. It’s a similar process to installing the tire - this provides enough slack to get a tire lever underneath the tire bead.
You’ll know when you break the bead because you’ll get a small pop noise and possibly some sealant spraying out.
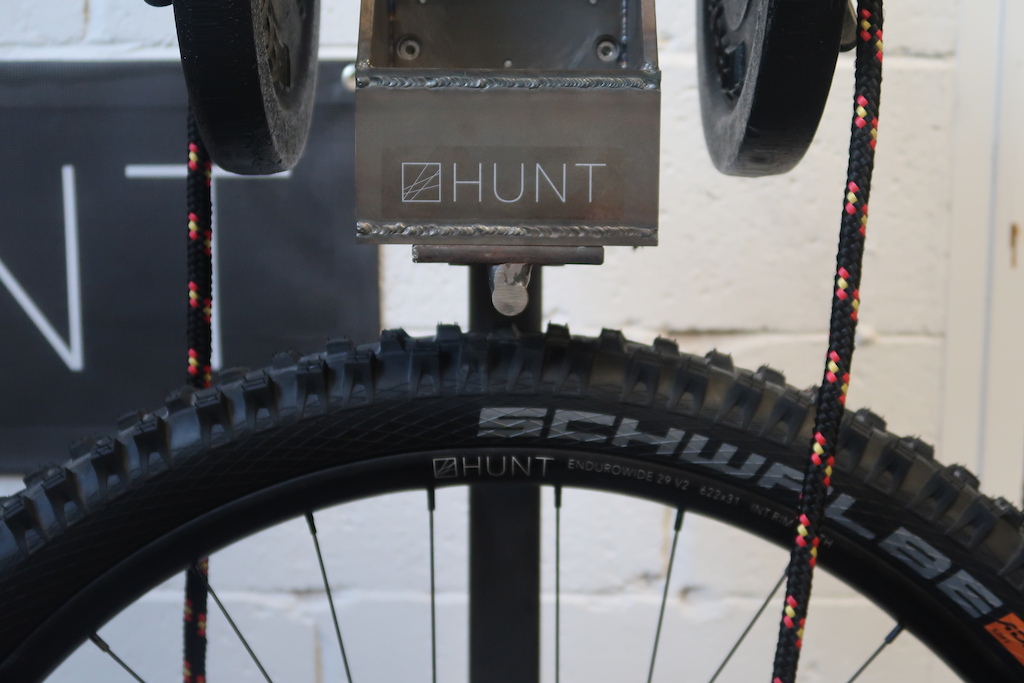
We torture-tested some a little while ago on a wheel-destruction jib. You can see the results here.
Step 3: Continue pushing the bead into the rim all the way around the tire, and carefully pull the bead off the rim with a tire lever.
Step 4: Repeat the process on the opposite side.
Step 5: It's pretty obvious from here, but you should be able to pull the tire out of the insert easily, then remove the insert from the rim. If the insert is particularly troublesome, try pulling up and over the edge of the rim to get some slack. The rag can work its magic again here too.
Let us know in the comments what other hacks you have for installing and removing your tire inserts.
Author Info:
Must Read This Week



Denial: “I don’t need inserts. This is all a big lie pushed by Outside and Big Tire”
Bargaining: “god, if you help me here, I’ll stop buying new bike shit”
Acceptance: “I guess I’ll take up trail running”
Step 2: have a beer
All of the tips listed here will work, but for $10 you can get valve stems that work correctly. And in fun colors!
a.co/d/2u6ckok
I actually want to brush up my CAD skills and print a small cap that slides over the inside of the standard Stans Schrader valve with a smooth top and ports on the side. Really shouldn't be too hard and considering the small size and low accuracy needed, it shouldn't take long to print either.
Now if someone could tell me what to do to avoid wobbly tires with inserts. Most of it can be avoided by carefully seating everything. But its seems like you get the wobble eventually no matter what with inserts.
No problem getting them in, but once they have been in there for a while, it's nearly impossible to get the tire off and most of the time I resort to just cutting it off!
Was sceptical, as it is counter intuitive, but it works very well and was a game changer for me. Once that bead is initially cracked, the rest is easy.
Or just thicker casing and +2-3 psi but hey.
trash can tip has reduced my swear-word expulsion rate by 96%
The only easy way I have found is to seat the tyre fully then drop one side to install the cushcore.
www.youtube.com/watch?v=CfgPt_nULxQ
Remove the valve stem and never take your.inserts to the shop again.
Well, the guide may be easy but the tire inserts aren't.